How to Copy a DVD to a USB Flash Drive for TV or PC Playback
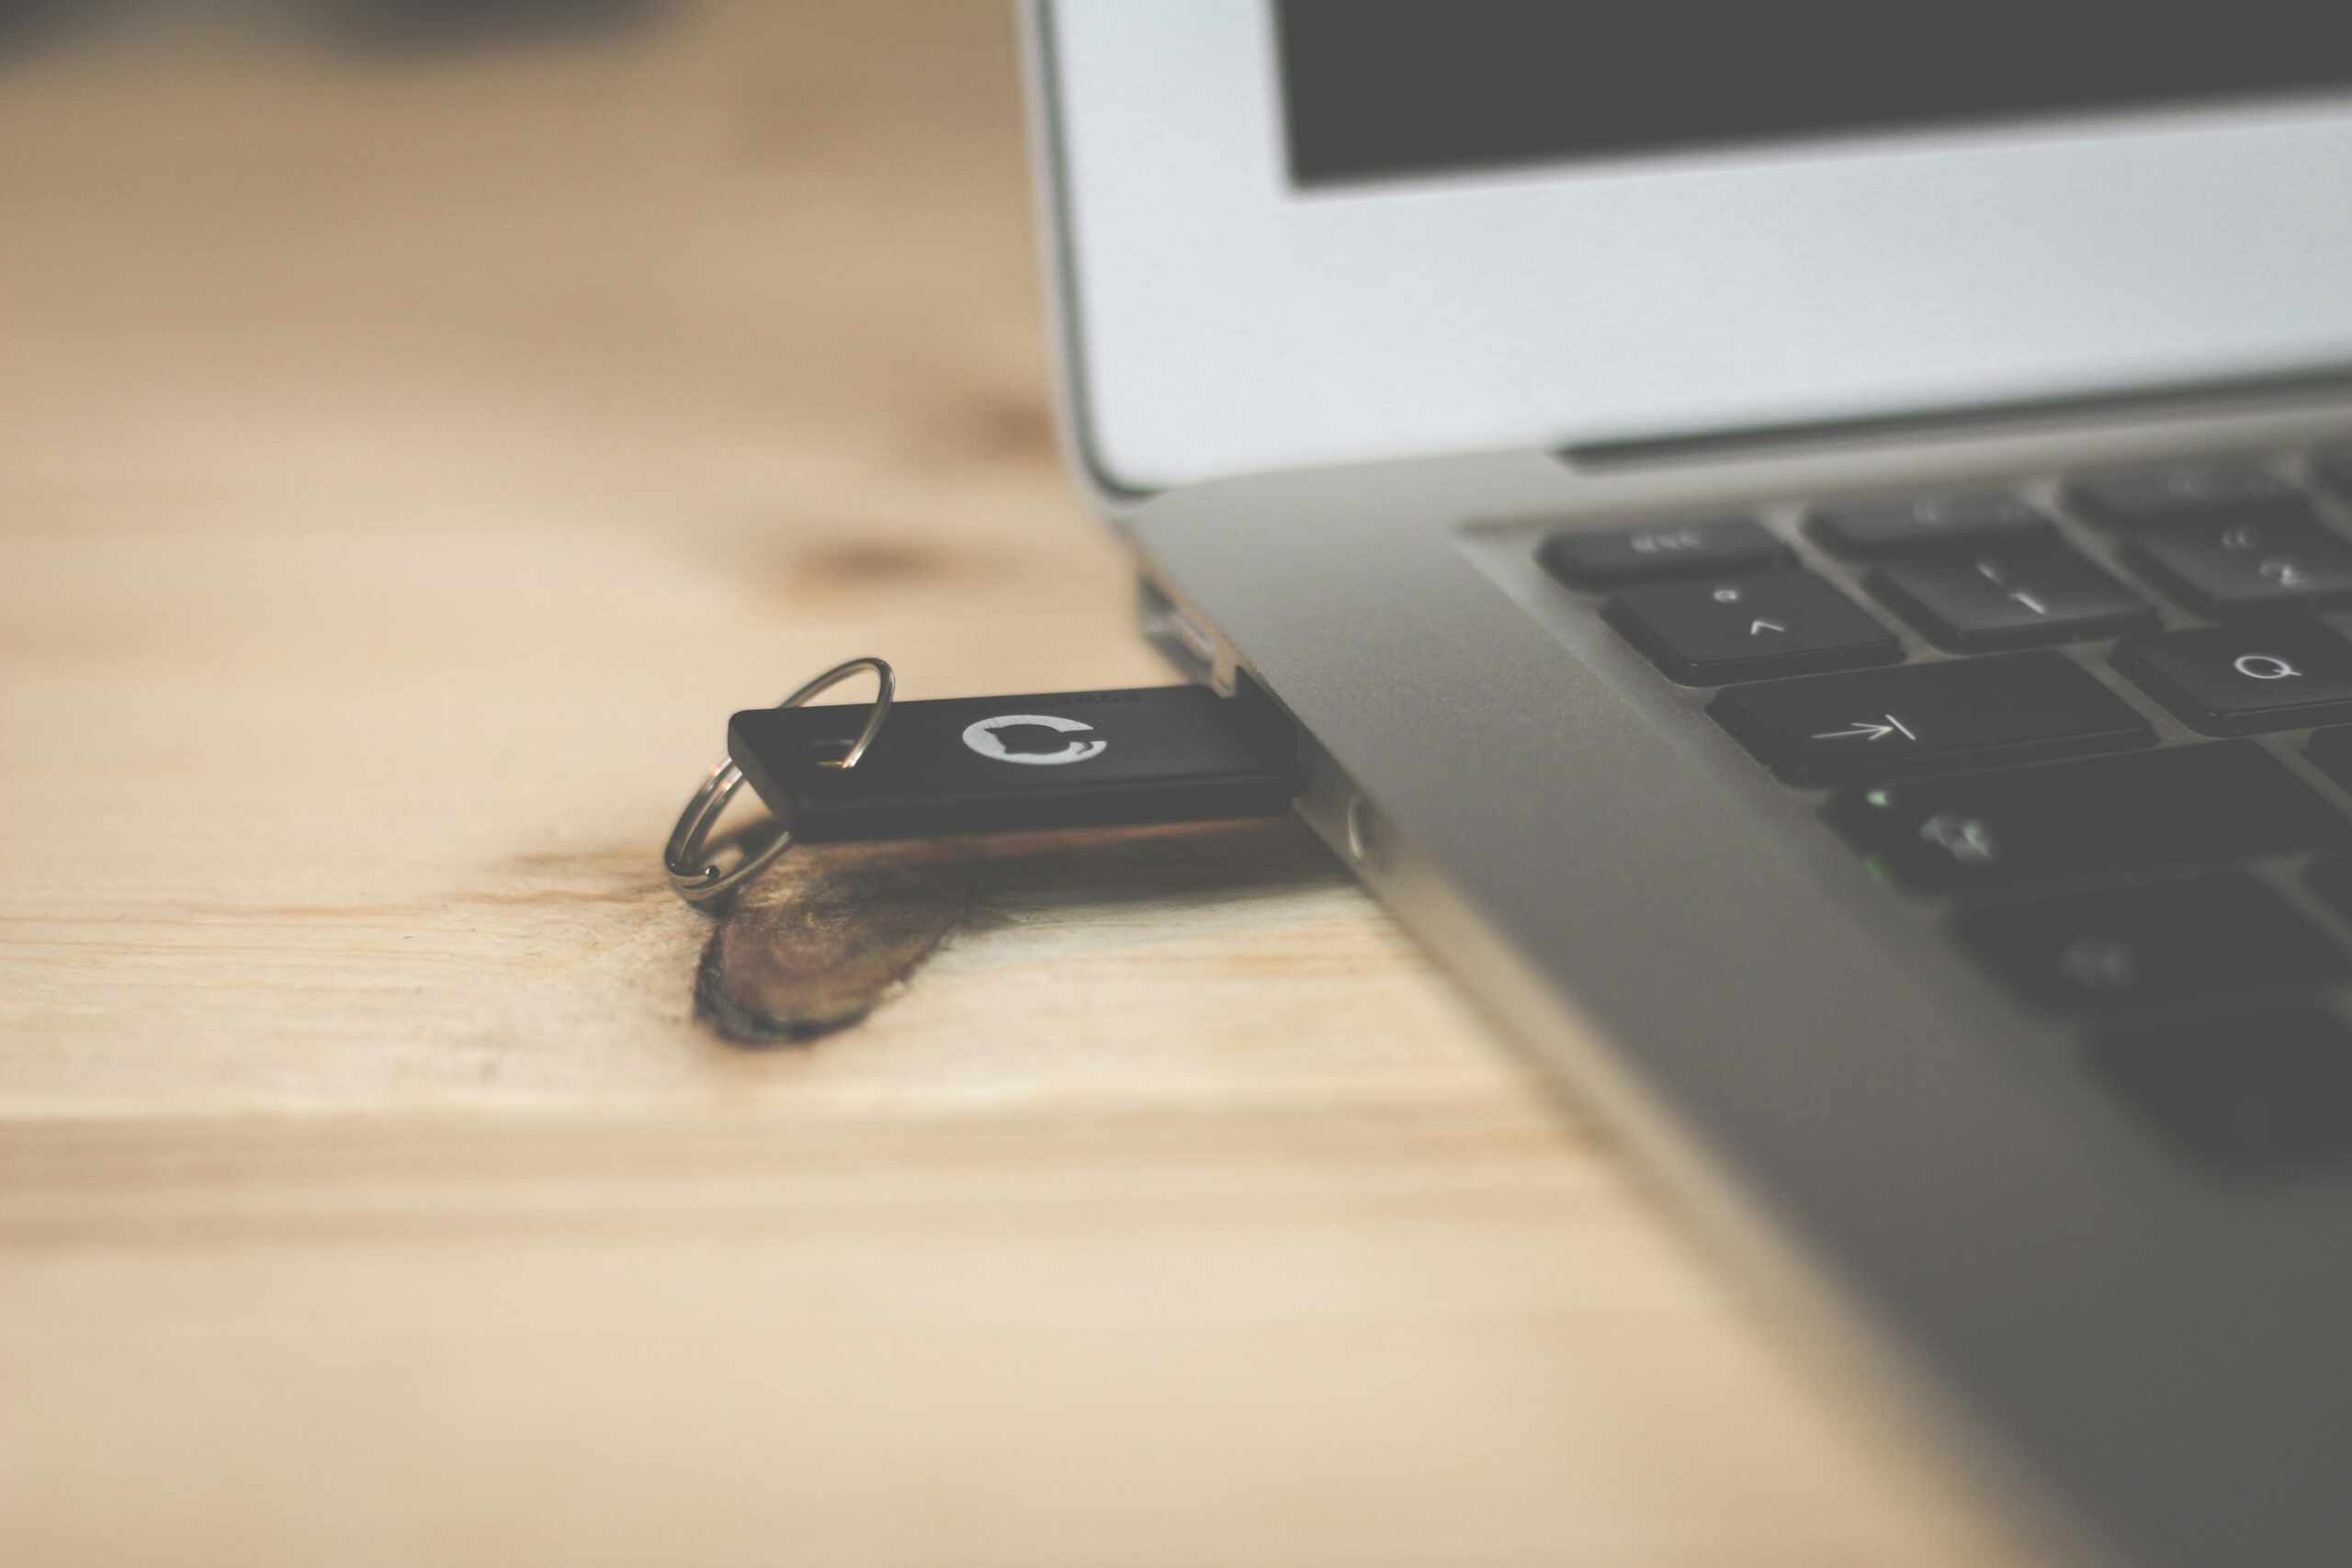
DVDs collect dust. Your flash drive goes everywhere. Getting your movie collection off those plastic discs and onto a USB stick is one of the most practical things you can do for your home media setup, and the process is more straightforward than most people expect.
This guide walks you through every step, from ripping the disc to formatting the drive correctly for your TV or PC. I’ll tell you what software works, what file formats to use, and where people typically go wrong.
What You Actually Need Before You Start

You need four things: a DVD drive connected to your PC, a USB flash drive with enough storage, ripping software, and a few minutes of patience.
For storage, a standard DVD movie sits around 4 to 8 GB in its original VIDEO_TS format. Compressed to an H.264 MP4, that same film drops to 1 to 2 GB with no visible quality loss on a TV. A 32 GB flash drive handles a good-sized movie night. A 64 GB drive is more comfortable if you plan to load several titles.
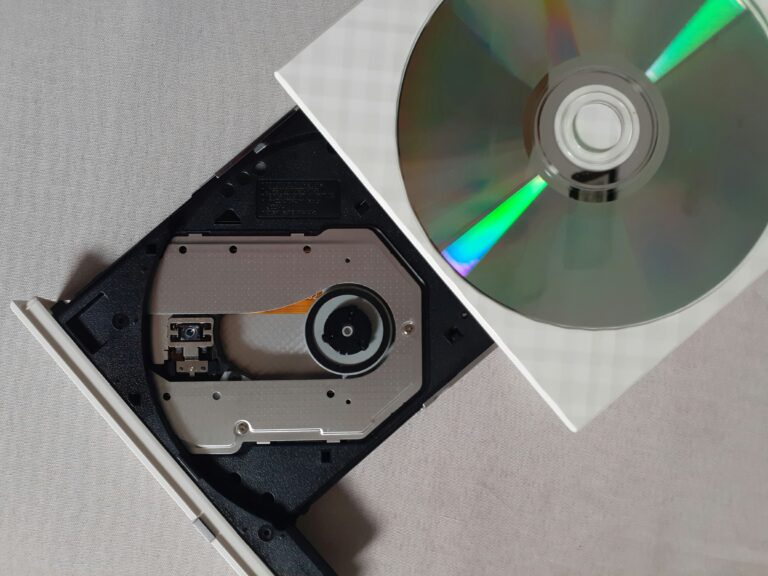
Your PC needs a working optical drive. Many modern laptops skip built-in drives, so a USB DVD drive (around $20 to $30) solves that problem immediately.
The Legal Side
Copying a DVD you own for personal playback is widely considered fair use in the US, but the legal picture has some grey areas because of the Digital Millennium Copyright Act and CSS encryption on commercial discs. I am a writer, not a lawyer. My position is simple: rip your own discs, keep the copies for yourself, and you are on solid ground practically speaking.
Step 1: Rip the DVD to Your Computer

You need software that can read the disc and export it as a usable video file. Here are the tools I actually use and recommend.
HandBrake with libdvdcss
HandBrake is free, fast, and produces excellent MP4 or MKV output. On its own it cannot read encrypted commercial DVDs. Install libdvdcss (a small separate library) alongside it, and that limitation disappears. Download libdvdcss from the VideoLAN project, drop the DLL file into the HandBrake folder on Windows, and you are ready.
Open HandBrake, select your DVD drive as the source, choose the main title (usually the longest one), pick an MP4 preset, and click Start Encode. A 90-minute film takes roughly 20 to 40 minutes depending on your CPU.
MakeMKV
MakeMKV is my go-to when I want a perfect 1:1 copy with all audio tracks and subtitles preserved. It outputs an MKV file that mirrors the original disc content without re-encoding, so quality is identical to the source. The file size stays large (4 to 8 GB), but the process is quick, usually 15 to 20 minutes per disc. MakeMKV is free during its ongoing beta period.
VLC (Quick and Simple Option)
VLC can rip DVDs through its Convert/Save function. The output quality and options are more limited than HandBrake, but if VLC is already on your machine and you want a fast MP4 without installing anything else, it works.
Step 2: Format Your USB Drive Correctly
This step trips people up constantly. Your flash drive’s file system determines what your TV or media player can actually read.
| File System | Max File Size | Best For |
|---|---|---|
| FAT32 | 4 GB | Older TVs, car stereos, wide compatibility |
| exFAT | 16 EB (effectively unlimited) | Modern smart TVs, all current PCs |
| NTFS | 16 TB | Windows PCs only, poor TV support |
My recommendation for TV playback is exFAT every time. FAT32 breaks on any file over 4 GB, which catches people who rip a full DVD image or a long film at high quality. NTFS has poor support on smart TVs and media players. exFAT works on modern Windows, Mac, and the vast majority of TVs sold in the last eight years.
To format on Windows: plug in the drive, open File Explorer, right-click the drive, select Format, choose exFAT, and click Start. On Mac, use Disk Utility and select exFAT under the format dropdown.
Step 3: Transfer and Organize Your Files
Copy your ripped video file to the USB drive. For TV playback, put it in a clearly named folder like /Movies/FilmTitle.mp4. Some smart TVs organize media from folder structure, and clean naming saves time when you’re scrolling through content.
Keep these points in mind when preparing your drive.
- MP4 with H.264 video and AAC audio has the broadest TV compatibility of any format.
- MKV files play on most modern smart TVs but may have subtitle or audio track issues on older models.
- AVI files are widely supported but the format is old and best avoided for new rips.
- Name your files clearly: “Inception_2010.mp4” beats “track_01.mp4” every time.
- If a TV skips or struggles with a large file, re-encode at a slightly lower bitrate in HandBrake.
Step 4: Play It Back
On a PC, any file you rip will play in VLC or Windows Media Player without issues.
On a TV, plug the USB into the port labeled “USB” or “Media” on the side or back. Most smart TVs open a media browser automatically. If yours does not, look for a Source or Input button on the remote and select USB from the list. Navigate to your file and press play.
If the TV shows the file but refuses to play it, the issue is almost always the codec. Re-encode the file in HandBrake using the Fast 1080p30 preset, which outputs a universally compatible MP4. That preset fixes roughly 90% of TV playback problems.
Key Takeaways
Getting from disc to USB is a three-step process: rip with HandBrake or MakeMKV, format the drive as exFAT, and transfer the file. The whole workflow, software setup included, takes under an hour the first time and about 30 minutes per disc after that.
Pick HandBrake for smaller files and broad compatibility. Pick MakeMKV when you want a lossless archive copy. Format as exFAT for anything that needs to work on a TV. Use MP4 as your default output format and rename your files properly.
Now load up that drive, plug it into your TV, and put those discs back on the shelf where they belong.