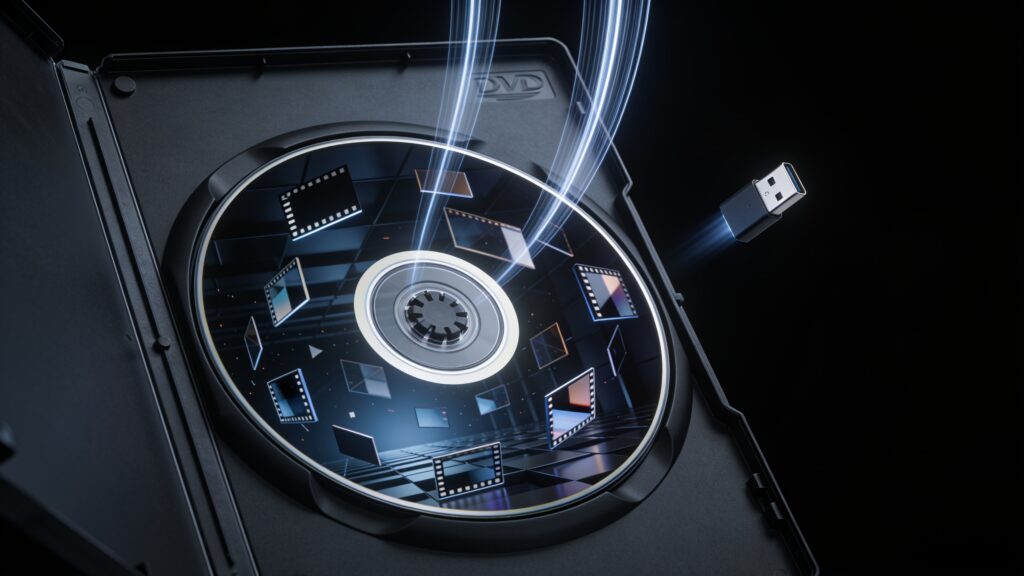
How to Rip DVDs to Computer or USB Drive
Your DVD collection is gathering dust while the player sits disconnected in a closet. Ripping those discs to your computer or a USB drive fixes that. You get instant access to any movie, no swapping discs, no scratched menus, no hunting through a stack. This guide walks you through the whole process, from picking the right software to finishing with a clean, playable file on a USB stick you can plug into any TV.
What “Ripping” Actually Means

Ripping a DVD means reading the video and audio data off the disc and writing it as a digital file on your hard drive. The result is usually an MKV, MP4, or AVI file sitting in a folder, ready to play in VLC or any media player.
Most commercial DVDs include copy protection called CSS (Content Scramble System). Ripping software handles that decryption automatically. You own the disc, you bought it, and making a personal backup copy is widely considered fair use in the US, though the legal landscape varies by country. Keep that context in mind.
Tools You Need
You need three things: a computer with a DVD drive, ripping software, and about 4 to 8 GB of free storage per movie (less if you compress it down).
If your laptop has no optical drive, a USB DVD drive costs around $20 to $30 and works fine for this purpose.
Best Free Ripping Software
| Software | Platform | Output Formats | Handles CSS |
|---|---|---|---|
| HandBrake + libdvdcss | Windows, Mac, Linux | MP4, MKV | Yes, with library |
| MakeMKV | Windows, Mac, Linux | MKV | Yes |
| DVDFab HD Decrypter | Windows, Mac | DVD folder, ISO, MKV | Yes |
| VLC (basic rips) | Windows, Mac, Linux | Limited | Partial |
My recommendation for most people is MakeMKV for the initial rip and HandBrake for compression afterward. MakeMKV is free while in beta (it has been in beta for years), and it produces a perfect 1:1 copy with every audio track and subtitle preserved. HandBrake then lets you shrink that file to something practical for USB storage.
Step-by-Step: Ripping with MakeMKV

Step 1: Install MakeMKV
Download MakeMKV from makemkv.com. Install it, then open it. The software asks for a registration key on first launch. The beta key is always posted on their forum and renews every few months. Enter that and you are set.
Step 2: Insert the DVD and Load It
Put the disc in your drive. MakeMKV detects it automatically. Click the large disc icon in the center of the app. It reads the disc structure, which takes 30 to 60 seconds. You then see a tree of all titles on the disc.
The main movie is usually the longest title, often labeled Title 1 or whichever has the highest runtime. The other entries are bonus features, trailers, and menu loops. Select only what you want to avoid bloated output.
Step 3: Choose Your Output Folder and Rip
Click the folder icon on the right to set where the output MKV file will be saved. Then click “Make MKV” (the big button at the top right). The rip takes 15 to 40 minutes depending on your drive speed. The output file for a standard movie lands around 4 to 8 GB.
Step-by-Step: Compressing with HandBrake
An 8 GB MKV is too large for casual USB use, especially if you want several movies on one drive. HandBrake compresses it to 1 to 2 GB with minimal quality loss.
- Open HandBrake and click “Open Source,” then select your MKV file.
- Under “Presets,” choose “Fast 1080p30” for standard HD quality or “HQ 1080p30 Surround” for better audio.
- Set the output container to MP4 if you want broad compatibility with TVs and media players.
- Click “Start Encode.” Compression takes 20 to 60 minutes depending on your CPU.
The resulting MP4 will play on virtually any device, including smart TVs via USB, Roku players, and phones.
Transferring to a USB Drive
Once you have your file, copy it to a USB drive formatted as exFAT. The reason for exFAT specifically is that FAT32 (the older default) has a 4 GB file size limit. An uncompressed MKV blows past that cap easily. NTFS works on Windows but causes read-only issues on some smart TVs and media players.
To format a USB drive as exFAT on Windows, right-click the drive in File Explorer, select “Format,” choose exFAT from the file system dropdown, and click Start. On Mac, use Disk Utility, select the drive, click Erase, and choose exFAT.
After formatting, drag your ripped files over. A 64 GB USB drive holds around 30 to 40 compressed movies, which is a solid portable library.
Tips to Get Better Results
- Always check the output file in VLC before considering the rip complete. Play the first and last five minutes to confirm audio sync.
- If MakeMKV fails on a heavily protected disc, try DVDFab HD Decrypter as a backup. It handles more aggressive protection schemes.
- Store your MKV masters on an external hard drive before compressing. If you ever want a higher quality version later, you have the source without re-ripping.
- Label your files consistently, something like “MovieTitle (Year).mp4,” so your media player or Plex library reads them cleanly.
Key Takeaways
Ripping DVDs is a straightforward process once you have the right tools in place. MakeMKV handles the decryption and initial copy without fuss. HandBrake compresses the output to a portable size. Formatting your USB as exFAT solves file size headaches before they happen.
Pick up a batch of discs this weekend, set up MakeMKV on your machine, and start working through your collection. An afternoon of ripping can build a portable library that plays anywhere, with zero reliance on a disc drive ever again.