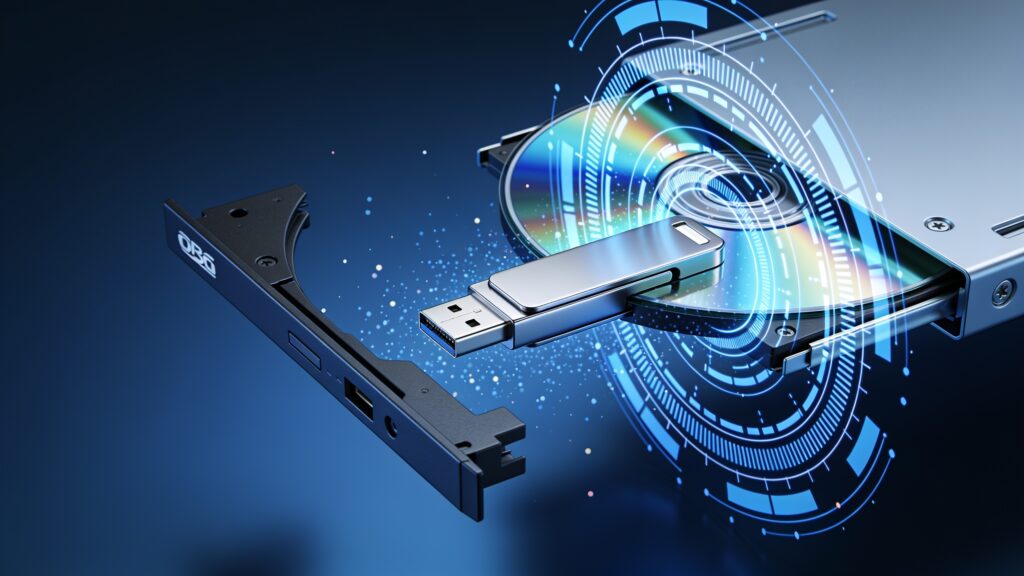
How to Transfer DVD Movies to a USB Flash Memory Stick
If you own a shelf full of DVDs and want to watch them on a TV, laptop, or media player without hunting for the disc every time, copying them to a USB flash drive is one of the smartest moves you can make. The process takes a little software know-how, but once you understand the steps, it becomes repeatable and fast. This guide walks you through exactly how to do it.
What You Need Before You Start

Getting the right tools in place saves time and frustration later. Here is what to have ready before you begin.
- A DVD drive connected to your PC or laptop (external USB drives work fine)
- A USB flash drive with enough storage space (more on sizing below)
- DVD ripping software installed on your computer
- The DVD you want to copy
One thing worth knowing upfront: most commercial DVDs have copy protection built in. Standard file copying through Windows Explorer copies nothing useful from a protected disc. You need dedicated ripping software that reads the video data directly and strips the protection during the export process.
Choosing the Right USB Drive Size
Storage sizing is the part people get wrong most often. A standard DVD holds up to 4.7 GB of data, but the video quality of your output file depends heavily on the format you choose.
| Output Format | Typical File Size | Quality Level |
|---|---|---|
| DVD ISO image | 4 to 7 GB | Full original quality |
| MKV (H.264) | 1 to 3 GB | High, near-lossless |
| MP4 (H.264) | 700 MB to 2 GB | Good to high |
| MP4 (H.265/HEVC) | 400 MB to 1.2 GB | High, smaller file |
My recommendation for most people is MP4 with H.264 encoding at around 1,500 kbps video bitrate. You get a file that plays on almost any device, sits comfortably under 2 GB, and looks sharp on a 1080p screen. A 32 GB USB drive holds 15 to 20 movies at that setting, which is a solid starting point.
The Best Free Software Options
Two tools do this job well and cost nothing.
HandBrake is the gold standard for converting DVD video to MP4 or MKV. It reads most unencrypted discs directly and gives you precise control over resolution, bitrate, and audio tracks. The interface looks dense at first, but the built-in presets handle 90% of situations without manual adjustment.
MakeMKV handles copy-protected commercial DVDs. It rips the full disc content to an MKV file on your hard drive, bypassing the protection layer. The output file is large (often 4 to 6 GB), so many people use MakeMKV first to get a clean rip, then run that MKV through HandBrake to compress it before moving it to the USB drive.
Step-by-Step: Ripping the DVD
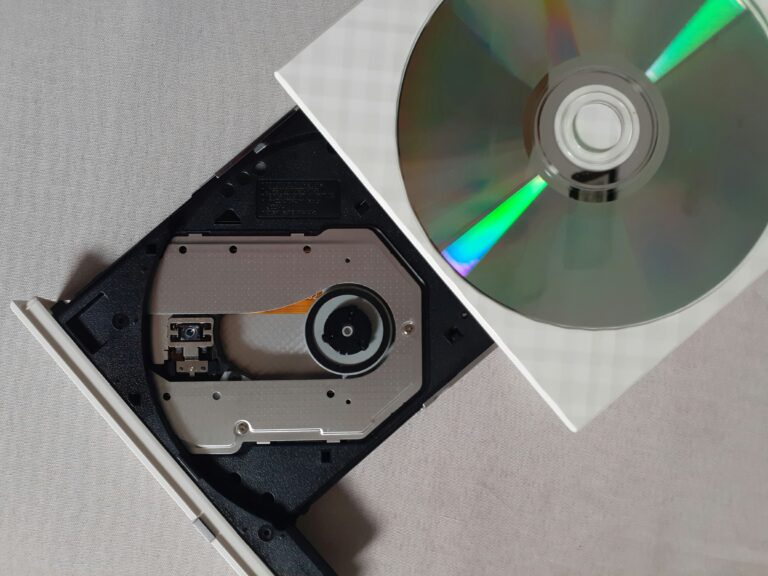
Step 1. Insert the DVD and Open Your Software
Put the disc in the drive and launch either HandBrake or MakeMKV. HandBrake will scan the disc automatically when you point it at the drive letter. MakeMKV shows a disc icon on the main screen; click it to begin the scan. Scanning takes 30 to 60 seconds for most discs.
Step 2. Select the Title and Set Your Output
DVDs often contain multiple titles. The main movie is almost always the longest one, typically 90 minutes or more. Select that title. In HandBrake, pick the “Fast 1080p30” or “HQ 1080p30” preset from the right-side panel. Set your destination file to somewhere easy to find, like your Desktop or a dedicated “Movies” folder.
Step 3. Start the Encode
Click “Start Encode” in HandBrake or “Make MKV” in MakeMKV. Encoding time depends on your CPU speed. A modern quad-core processor finishes a two-hour film in 20 to 45 minutes. Older hardware can take 90 minutes or more. Let it run and check back.
Step 4. Verify the Output File
Before moving anything to the USB drive, play the output file in VLC Media Player for a few minutes. Check that the picture looks clean, the audio syncs correctly, and there are no obvious glitches. This step catches any encoding errors before you commit the file to the drive.
Moving the File to the USB Drive
Plug in your USB flash drive. Open File Explorer, locate your output file, and drag it to the drive. Windows shows a progress bar with a time estimate. A 1.5 GB MP4 file copies to a USB 3.0 drive in under two minutes. USB 2.0 drives take longer, sometimes eight to ten minutes for the same file.
If the file transfer fails or stops partway through, check the USB drive’s file system. Drives formatted as FAT32 have a 4 GB per-file limit. A large ISO or MKV file will fail silently. Format the drive as exFAT instead. exFAT works on Windows, Mac, and most smart TVs with no compatibility issues.
To reformat a drive in Windows, right-click it in File Explorer, choose “Format”, select “exFAT” from the dropdown, and click “Start”. This erases everything on the drive, so back up any existing files first.
Playing the Movies Back
Most modern smart TVs accept USB drives directly. Plug the drive into the TV’s USB port, navigate to the media player app, and your MP4 or MKV files should appear automatically. Devices like the Amazon Fire Stick and Roku also support USB playback through third-party apps like VLC for Fire TV.
On a laptop or desktop, VLC Media Player opens every common format without needing extra codecs. It is free, fast, and handles MKV, MP4, and ISO files with equal ease.
Key Takeaways
The process comes down to four steps: rip the DVD with HandBrake or MakeMKV, verify the output file plays correctly, format your USB drive as exFAT, then copy the file across. Use MP4 with H.264 encoding for the best balance of quality and file size. A 32 GB or 64 GB USB drive gives you enough room for a proper movie collection without overspending.
Start with one film, test playback on the device you plan to use most, then build from there. Once the workflow clicks, converting your whole DVD library takes a weekend.