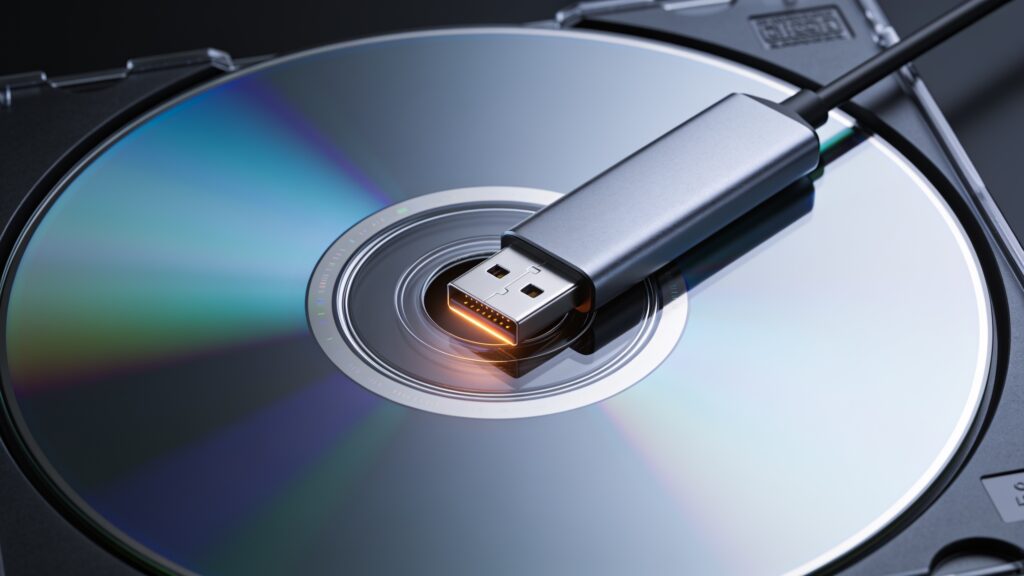
Copy DVD to USB: Easy Backup DVD on Windows and Mac
Physical DVDs scratch, crack, and degrade. If your collection matters to you, copying those discs to a USB drive is one of the smartest things you can do with an afternoon. This guide walks through the exact process on both Windows and Mac, covers the tools worth using, and explains where people run into trouble so you can skip those headaches entirely.
What You Need Before You Start

The setup is straightforward. Grab these items before you begin:
- A USB drive with enough space (a standard DVD holds up to 4.7 GB for single-layer, 8.5 GB for dual-layer, so a 16 GB drive covers most discs)
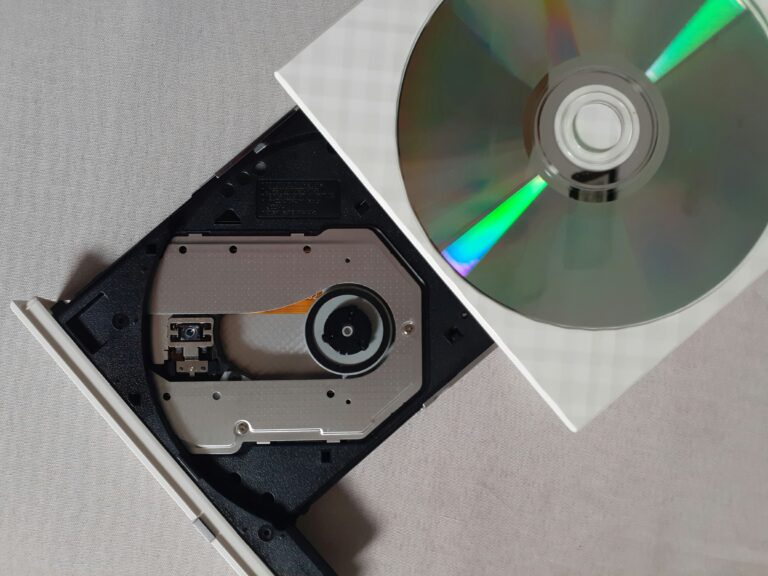
- A DVD drive on your computer or an external USB DVD drive if your machine lacks one
- Ripping software appropriate for your operating system
- About 30 to 60 minutes per disc, depending on your drive speed
One thing worth knowing upfront: many commercial DVDs use CSS encryption or other copy protection. You will need software that handles that protection to get a complete copy. Free tools like HandBrake work for unprotected discs, but for encrypted commercial releases you need something like MakeMKV or VLC paired with the right library.
Copying a DVD to USB on Windows
Method 1: Using HandBrake (Unprotected Discs)
HandBrake is my go-to for personal DVD rips, recordings, and home videos. It’s free, actively maintained, and produces solid output files.
- Insert your DVD and open HandBrake.
- Click “Open Source” and select your DVD drive.
- Choose a preset. For long-term storage, the H.264 MKV preset at 1080p (or 480p for standard DVD) works well.
- Set the destination file path to your USB drive directly.
- Click “Start Encode” and wait.
HandBrake converts the DVD content to a compressed video file rather than creating an exact disc image. That’s a trade-off worth considering. You save space, but you lose the original menu structure.
Method 2: Creating an ISO Image with ImgBurn
If you want a byte-for-byte copy of the disc, including menus, extras, and the original structure, use ImgBurn. It’s free and has been reliable for years.
- Install ImgBurn and open it.
- Select “Create image file from disc.”
- Set the destination to your USB drive.
- Click the “Read” button and let it run.
The output is an ISO file. You can play it back with VLC or mount it as a virtual disc using Windows’ built-in disc image mounting tool (right-click the ISO and select “Mount”).
Method 3: MakeMKV for Commercial DVDs
MakeMKV handles CSS-encrypted commercial DVDs. It reads the disc and outputs an MKV file with all video and audio tracks intact. The free version works indefinitely for DVDs.
- Open MakeMKV with your DVD inserted.
- Click the large disc icon to scan the drive.
- Select the titles you want (usually the longest title is the main feature).
- Set the output folder to your USB drive.
- Click “Make MKV.”
MakeMKV does minimal compression, so file sizes run large, often 6 to 15 GB per disc. A 64 GB USB drive gives you breathing room for a small collection.
Copying a DVD to USB on Mac

Method 1: HandBrake on Mac
HandBrake runs on macOS and works identically to the Windows version. Download the Mac build from the HandBrake website, insert your disc, and follow the same steps outlined above. The interface is identical.
Method 2: DVD Player and Disk Utility for ISO Creation
Mac’s built-in Disk Utility can create disc images from DVDs, which is useful for personal home videos and unprotected discs.
- Open Disk Utility (Applications > Utilities).
- Select your DVD drive in the left sidebar.
- Go to File > New Image > Image from [your drive name].
- Set the format to “DVD/CD Master” and choose your USB drive as the destination.
- Click Save.
The output is a .cdr file. Rename it with a .iso extension and it becomes a standard ISO you can mount or play anywhere.
Method 3: MakeMKV on Mac
MakeMKV has a Mac build and works exactly as described in the Windows section above. For commercial DVDs on Mac, this is the most reliable path I’ve found.
Format Comparison: Which Output Should You Choose?
| Format | File Size | Menus Preserved | Compatibility | Best For |
|---|---|---|---|---|
| MKV (HandBrake) | Small to medium | No | VLC, most players | Space-saving backups |
| ISO | Full disc size | Yes | Requires mounting or disc | Exact archival copies |
| MKV (MakeMKV) | Large | Partial | VLC, most players | Commercial DVDs |
| MP4 (HandBrake) | Small to medium | No | Near-universal | Playback on mobile or TV |
My recommendation: use MakeMKV for anything you care about archiving accurately, and HandBrake in MP4 format for anything you want to watch on a phone, tablet, or streaming stick.
Common Problems and How to Fix Them
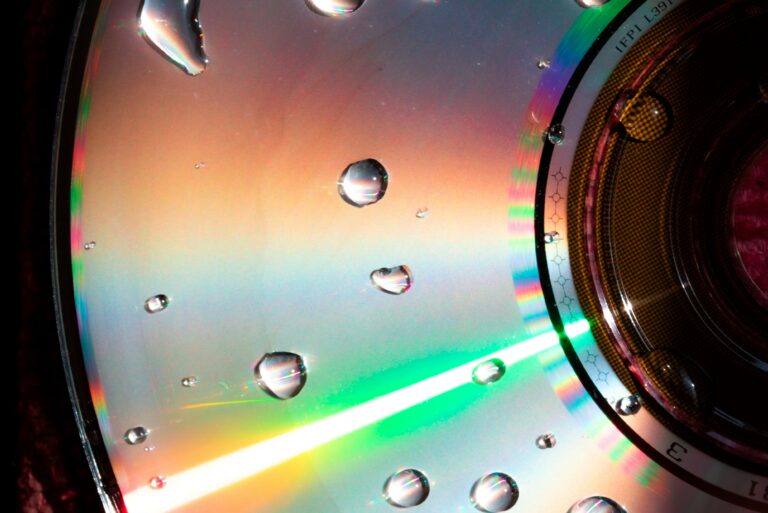
Disc read errors. Clean the DVD with a soft cloth from the center outward, then retry. If errors persist, the disc surface has physical damage and you may only recover part of the content.
“No valid source” message in HandBrake. This almost always means the disc has copy protection. Switch to MakeMKV.
USB drive not fast enough. Rip to your desktop or internal drive first, then transfer to USB. Writing directly to a slow USB 2.0 drive can cause errors and adds time.
Insufficient space on the USB. Check your available space before starting. A dual-layer DVD ripped with MakeMKV can push 15 GB. Format the drive as exFAT so it handles files over 4 GB without issues.
Key Takeaways
Copying a DVD to USB takes the right tool matched to the right situation. HandBrake handles personal and unprotected discs with compression. MakeMKV tackles commercial releases with encryption. Disk Utility and ImgBurn are your options for exact ISO copies.
Pick your format based on the goal. Archival work calls for ISO or MakeMKV MKV. Portable playback calls for HandBrake MP4. Always format your USB drive as exFAT before you start, and give yourself a drive with at least double the expected file size so you have room to work.
Start with one disc you know well, check the playback before deleting anything, and build your backup library from there.