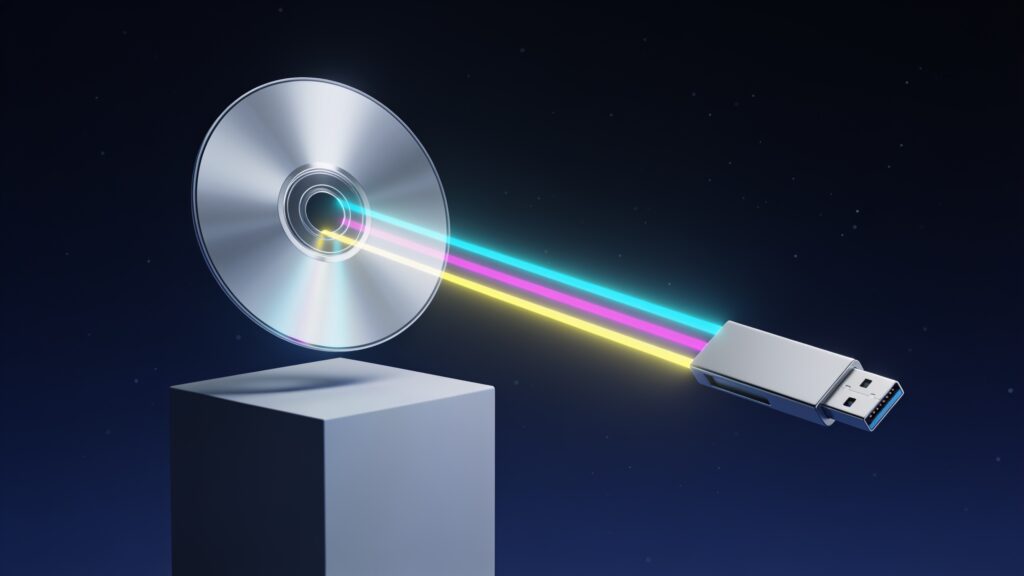
3 Methods to Copy DVD to USB Losslessly
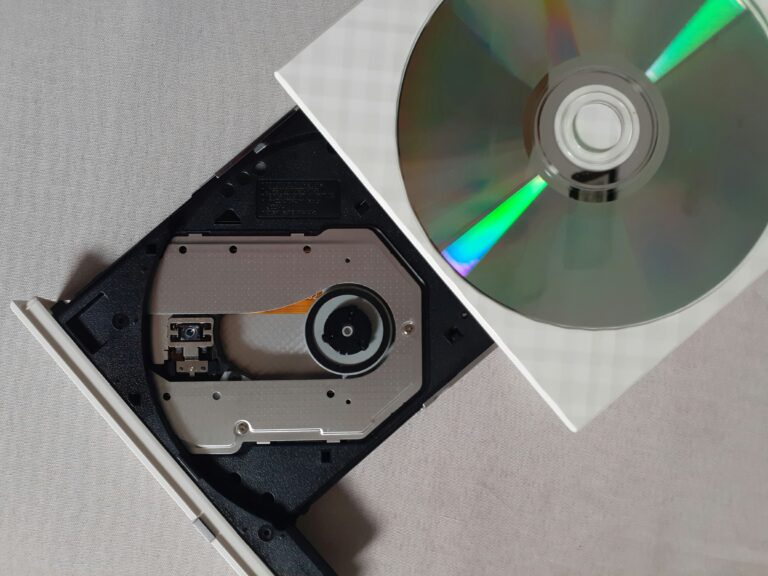
Physical DVDs are fragile, bulky, and increasingly orphaned by laptops that dropped the optical drive years ago. Copying your disc collection to a USB drive solves all three problems at once. You get portable, fast access to your movies without quality loss, and your original discs stay safely on a shelf.
The catch is that “lossless” means different things depending on your goal. A straight ISO image preserves every bit of the original disc. A folder copy keeps the VIDEO_TS structure intact for playback in most media players. A compressed copy trades a tiny amount of quality for a dramatically smaller file. I’ll cover three methods that each qualify as lossless or near-lossless, explain what you actually get with each one, and tell you which I reach for in different situations.
What You Need Before You Start
Every method here requires a computer with a working DVD drive, a USB drive with enough free space, and a way to handle copy protection. Most commercial DVDs use CSS encryption. Your ripping software needs to handle that, or the copy will fail before it begins.
Here is a quick comparison of the three methods covered in this article:
| Method | Output Format | Average File Size | Best For |
|---|---|---|---|
| ISO Image | Single .iso file | 4 to 8 GB | Archiving, full disc backup |
| VIDEO_TS Folder | Folder structure | 4 to 8 GB | Direct playback on media players |
| MKV/H.265 Encode | Single .mkv file | 1 to 3 GB | Space-saving with near-lossless quality |
Method 1: Create an ISO Image with MakeMKV or ImgBurn

An ISO is an exact sector-by-sector copy of the disc. It preserves menus, bonus features, subtitles, and all audio tracks. If you want a perfect digital clone, this is it.
Using ImgBurn (Windows)
ImgBurn is free, reliable, and has been around long enough that most bugs were ironed out a decade ago. Open it, choose “Create image file from disc,” select your DVD drive as the source, and point the destination to your USB drive. Hit the big write button and wait. A typical single-layer DVD finishes in under 10 minutes on a modern drive.
The limitation is CSS. If the disc is encrypted, ImgBurn alone will stall. Install libdvdcss alongside it, or use MakeMKV in ISO mode instead, which handles decryption internally.
Using MakeMKV (Windows, macOS, Linux)
MakeMKV has a dedicated “Backup” mode that dumps the disc as a folder or ISO with decryption handled transparently. Go to File, then Backup, choose ISO, and select your USB destination. The result is a playable ISO that mounts in VLC, Kodi, or any virtual drive tool like WinCDEmu.
ISO files are big. A dual-layer disc can hit 8 GB. Make sure your USB drive is formatted as exFAT, because FAT32 tops out at 4 GB per file and will kill the copy mid-process.
Method 2: Rip to a VIDEO_TS Folder with HandBrake or VLC

A VIDEO_TS folder copy is the raw DVD file structure pulled off the disc. It plays in VLC without mounting anything, and media servers like Plex and Emby recognize it natively. I use this method when I want fast playback access and I am not concerned about preserving menus.
Using VLC
VLC can rip directly to a VIDEO_TS folder. Go to Media, then Convert/Save, click Disc, select your DVD drive, and choose a destination folder on your USB. Set the profile to “Video DVD Original” to keep the stream untouched. VLC handles CSS decryption on most systems without extra libraries.
The process is slower than a dedicated ripper, and VLC occasionally stumbles on heavily scratched discs. For those, MakeMKV in folder-backup mode is a more dependable choice.
Using MakeMKV in Folder Mode
Same steps as the ISO method above, but choose “folder” instead of ISO at the backup prompt. MakeMKV writes a clean VIDEO_TS structure to your USB. Playback in VLC is instant. The file size matches the ISO because all the data is identical, just organized differently on disk.
Key advantages of the VIDEO_TS folder approach:
- Works directly in VLC, Kodi, Plex, and Infuse without mounting
- Easy to browse individual title files if you only want one episode or feature
- Fully preserves all subtitle tracks and audio streams
- Compatible with older media players and game consoles that read USB drives
Method 3: Encode to MKV with HandBrake
This is the method I use for 90% of my personal rips. HandBrake with an H.265 encoder at a high quality setting produces files that look identical to the source on a standard TV. You save 60 to 70% of disk space compared to a raw copy, and you can store a full TV season on a single 64 GB USB drive.
The HandBrake Workflow
First, rip the DVD to a VIDEO_TS folder using MakeMKV (HandBrake reads encrypted discs directly on some systems, but the MakeMKV-first approach is more reliable). Then open HandBrake, click “Open Source,” and point it at the folder.
Select your title from the Title dropdown. For TV discs with multiple episodes, batch-queue each title separately. Under the Video tab, choose H.265 (x265) as the codec and set the Constant Quality slider to RF 18. That setting is indistinguishable from the source for DVD-resolution content.
Under the Audio tab, keep the original Dolby Digital 5.1 track as a pass-through. Under Subtitles, add any subtitle tracks you want. Then queue the job and encode.
A 90-minute movie takes 15 to 30 minutes to encode on a mid-range laptop. The output MKV goes directly to your USB drive. The result plays on every modern device from a Raspberry Pi to an Apple TV with VLC installed.
Which Method Should You Choose?
The right choice depends on what you prioritize.
Go with ISO if you want a perfect archive copy and have plenty of storage. Go with VIDEO_TS folders if you want immediate, hassle-free playback on a media server. Go with HandBrake MKV if you want the best balance of quality and file size for everyday use.
All three methods deliver a lossless or perceptually lossless result. The disc data reaches your USB drive intact. Your movies play at full quality. That is the whole goal.
Start with MakeMKV regardless of which output format you choose. It handles disc decryption across all platforms, it is free during its beta period (which has been ongoing for years), and it forms the reliable foundation that the other two methods build on.