How to Copy Files from A CD or DVD to a USB Drive
Physical discs are a dying format, but the data on them is very much alive. If you have a collection of CDs or DVDs holding documents, photos, old software, or video files, copying that content to a USB drive is one of the smartest preservation moves you can make. USB drives are faster to access, harder to scratch, and far easier to carry around. This guide walks you through the process on Windows and Mac, covers the tools you need, and flags the common mistakes worth avoiding.
What You Need Before You Start

Getting set up correctly saves a lot of frustration later. Here is what to have ready.
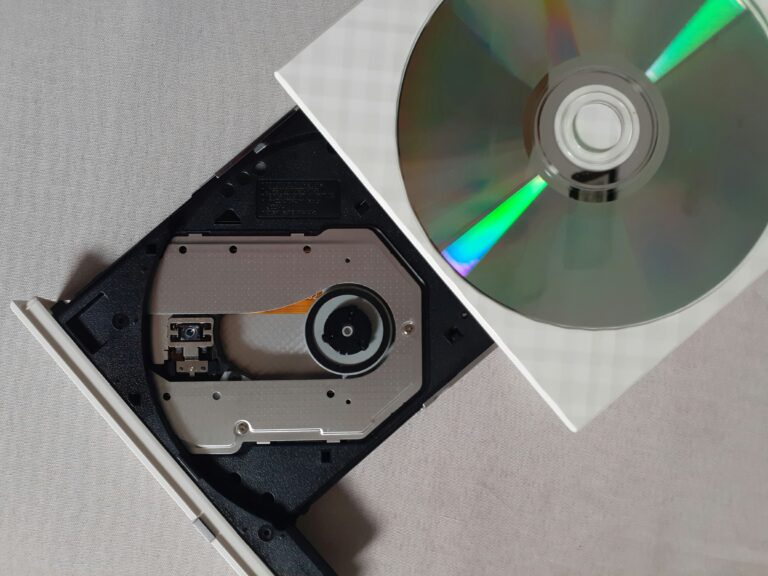
- A working CD or DVD drive (internal or external USB-connected)
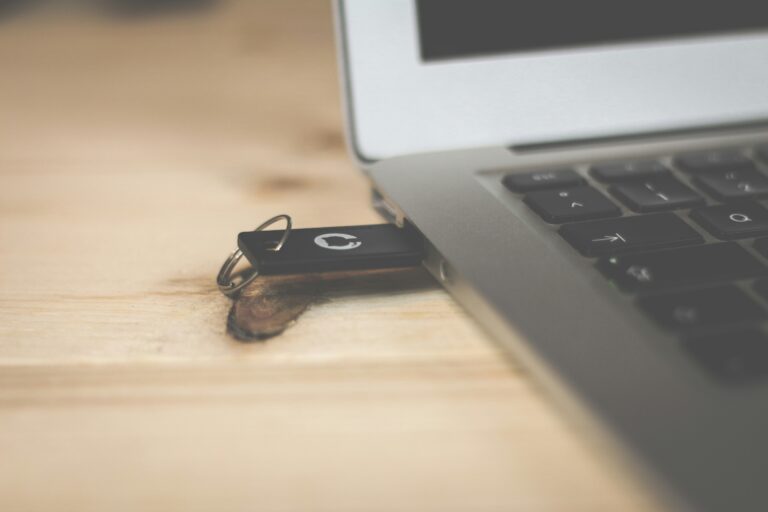
- A USB drive with enough free space for your files
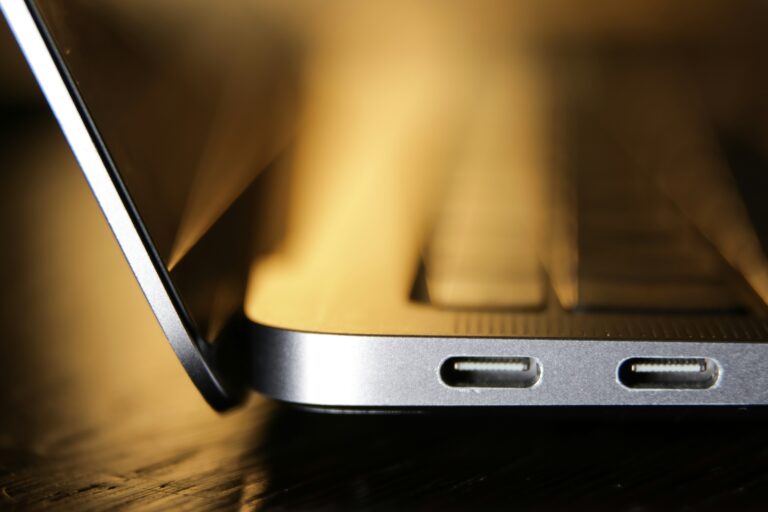
- A computer running Windows 10/11 or macOS Monterey or later
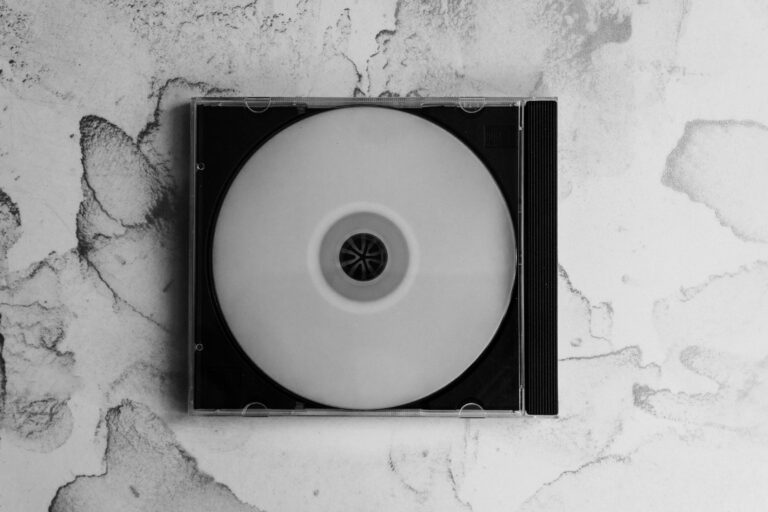
- The disc you want to copy from
One point on storage space: a standard CD holds up to 700 MB, while a single-layer DVD holds up to 4.7 GB. A dual-layer DVD can hold up to 8.5 GB. Make sure your USB drive exceeds that capacity, especially if you plan to copy multiple discs in one session.
External DVD drives are inexpensive. If your laptop lacks a built-in optical drive, a USB-connected unit from brands like LG or ASUS runs around $25 to $35 and works plug-and-play on both Windows and Mac.
Copying Files on Windows

The Simple Drag-and-Drop Method
For data discs containing files and folders (think documents, photos, or software installers), Windows treats the disc like any other drive. Insert the disc, open File Explorer, and locate the disc under “This PC.” Open it, select everything with Ctrl+A, then drag the selected files to your USB drive folder.
That is the whole process for a straightforward data disc. Windows copies each file directly, and you end up with a clean, organized folder on your USB drive.
Using File Explorer’s Send To Option
A faster variation is to right-click a selected group of files on the disc and choose “Send to,” then pick your USB drive from the list. This skips the drag-and-drop step entirely, which is useful when you are working with a large number of files across multiple folders.
When the Disc Contains a DVD Movie or Protected Content
Standard drag-and-drop copies the raw VIDEO_TS or BDMV folder structure from an unprotected disc. For personal home movie DVDs burned on a camcorder or a PC, this works fine. The resulting folder on your USB drive will play back in media players like VLC.
Commercially pressed DVDs with copy protection require a different approach. Ripping tools like HandBrake (free, open-source) can convert the video content to an MP4 or MKV file. HandBrake reads the disc, lets you choose quality settings, and outputs a single video file to your USB drive. Keep in mind that ripping discs you own for personal backup is your own responsibility to handle within your local laws.
Copying Files on a Mac

Using Finder
The process on macOS mirrors Windows in simplicity. Insert the disc, wait for it to appear on the desktop or in the Finder sidebar, then open it. Select the files you want, drag them to your USB drive, and the copy begins.
For a full disc copy, press Cmd+A to select everything, then drag to the USB drive. Finder shows a progress bar during the transfer.
Creating a Disc Image First (Recommended for Long-Term Backup)
On Mac, I prefer creating a disc image (.dmg file) before copying to USB. This preserves the exact disc structure, including folder hierarchy and file permissions. Open Disk Utility, select the disc from the left panel, click “File” in the menu bar, then choose “New Image” and “Image from [disc name].” Save the .dmg file to your USB drive.
The advantage here is clear: the .dmg captures everything exactly as it is on the disc. If the original disc ever becomes unreadable, the image file on your USB drive is a perfect replica you can mount on any Mac.
Comparing Your Copy Options at a Glance
| Method | Best For | Platform | Cost |
|---|---|---|---|
| Drag-and-drop (File Explorer) | Data discs, documents, photos | Windows | Free |
| Send To shortcut | Large multi-folder data discs | Windows | Free |
| HandBrake rip | Personal DVD video files | Windows and Mac | Free |
| Finder drag-and-drop | Data discs, simple file copy | Mac | Free |
| Disk Utility disc image | Full disc backup, preserving structure | Mac | Free |
Tips for a Clean, Reliable Copy
Pay attention to these details and you will avoid the problems that trip people up.
- Check the disc for scratches before starting. A scratched disc causes read errors mid-copy, which corrupts files silently in some cases.
- Copy to a folder named after the disc so you can identify the source later without guessing.
- After copying, open a few files on the USB drive and confirm they open correctly before putting the disc away.
- For large transfers (full DVDs), use a USB 3.0 port instead of USB 2.0. The speed difference is significant: USB 2.0 tops out around 60 MB/s while USB 3.0 delivers up to 625 MB/s in real-world conditions.
- Eject the disc properly using the software eject button rather than pressing the physical button mid-transfer.
Key Takeaways
Copying from a CD or DVD to a USB drive is a low-effort, high-value task. Data discs copy with a simple drag-and-drop on both Windows and Mac. Video DVDs that are home-burned follow the same process, while HandBrake handles conversion for unprotected movie discs. Mac users who want a complete archival copy should reach for Disk Utility’s disc image feature.
Start with your most important discs, the ones holding files you would be upset to lose. Copy them first, verify the files open correctly, and then work through the rest of your collection. Your future self will appreciate having that content on a format that does not degrade on a shelf.